


Most Popular

Meet the Team


Stuff We Love
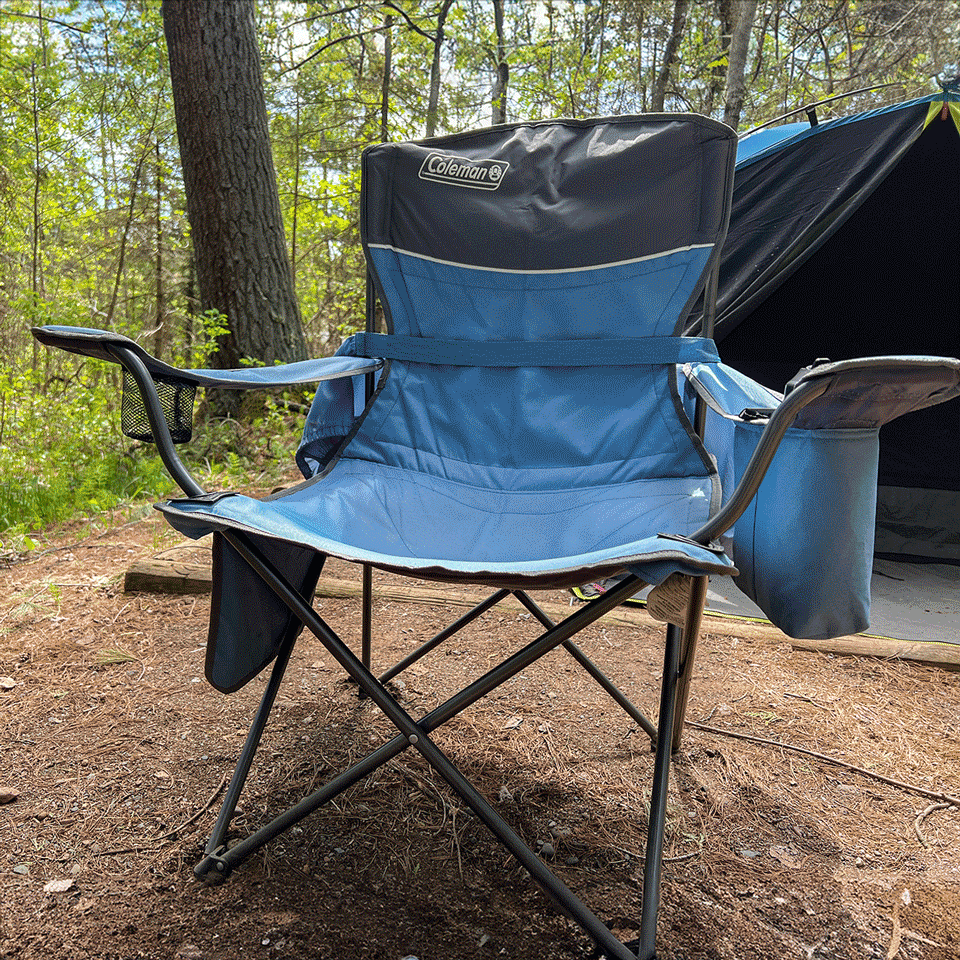
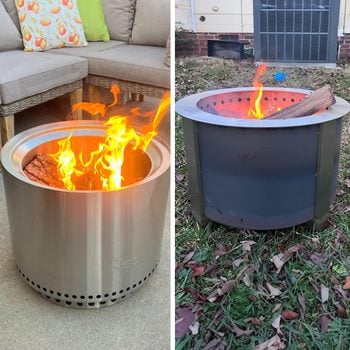
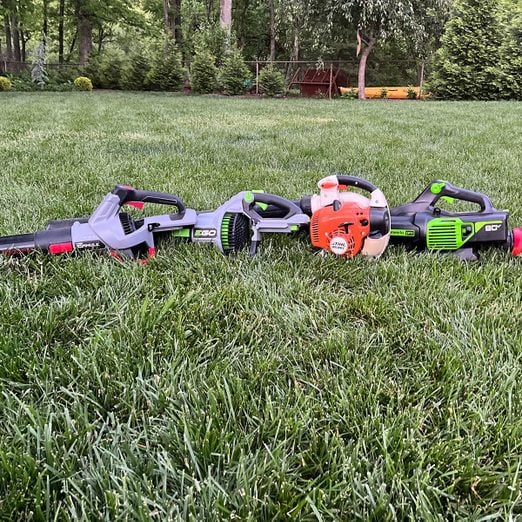
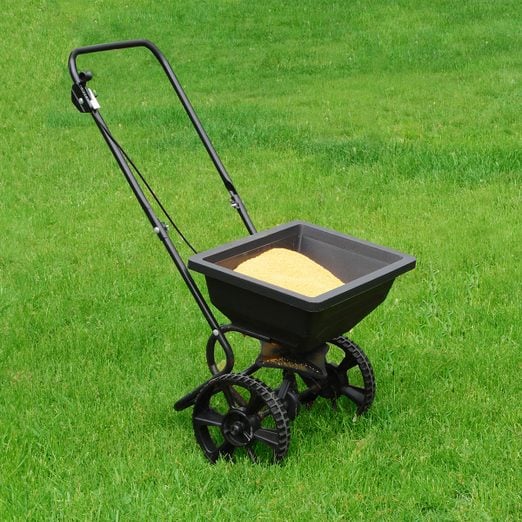
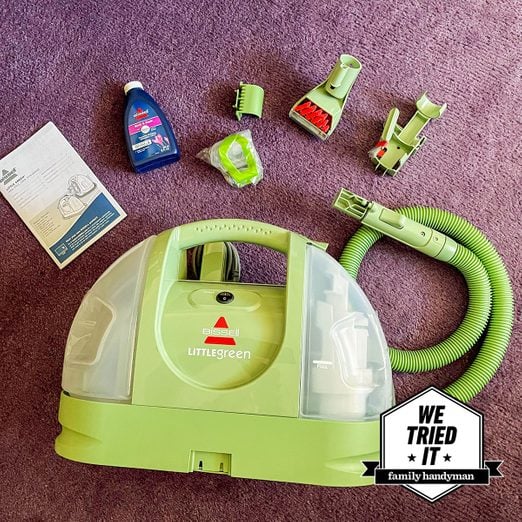
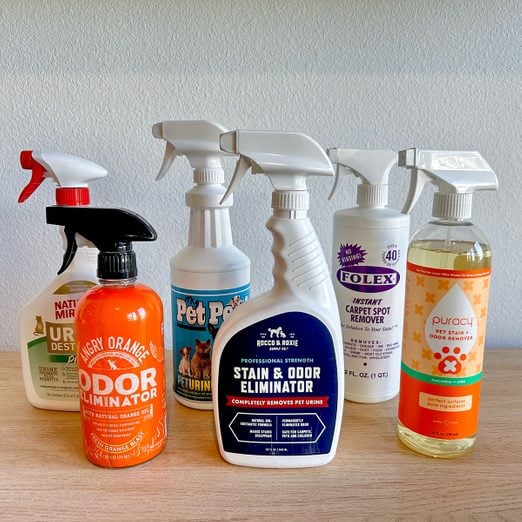
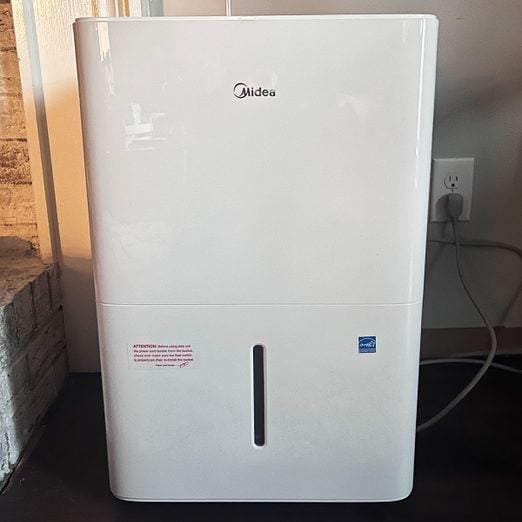
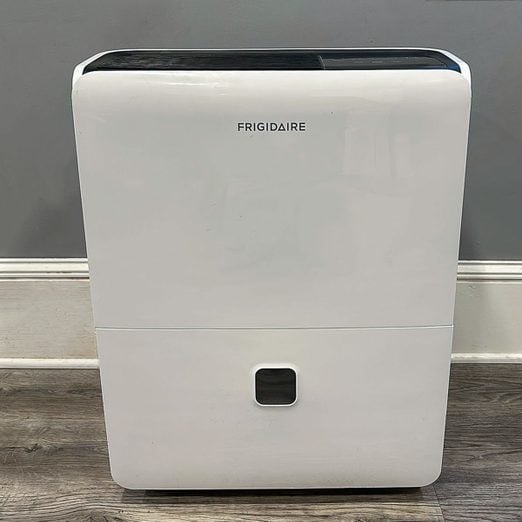
Need help making buying decisions? Family Handyman has you covered. We’re always on the lookout for the latest products and brands that make life easier. Learn more about how we test and evaluate products.