


Most Popular

Meet the Team


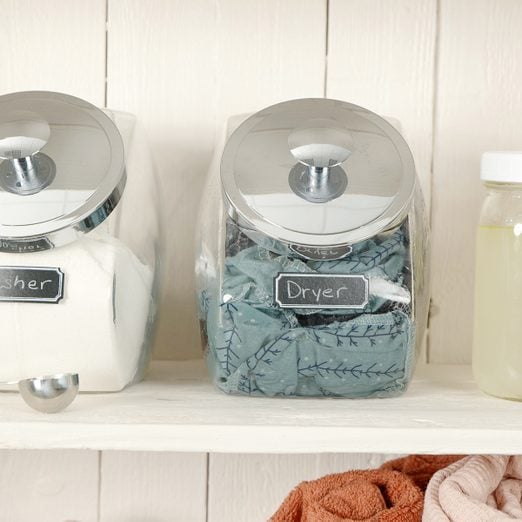
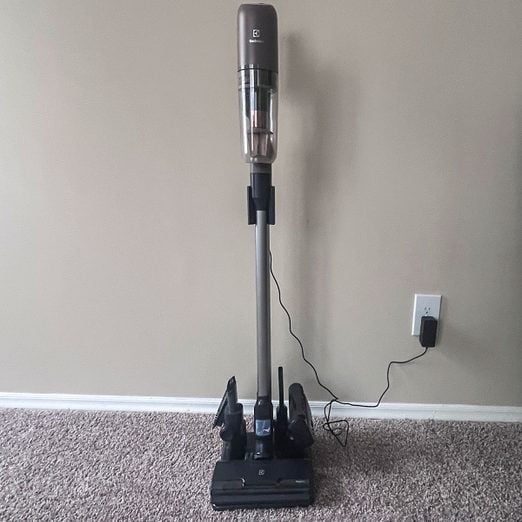
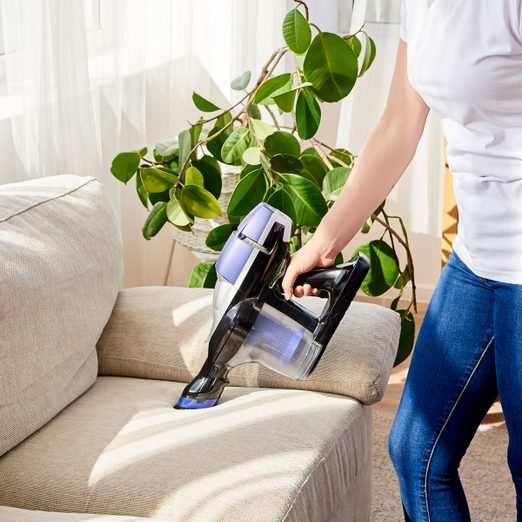
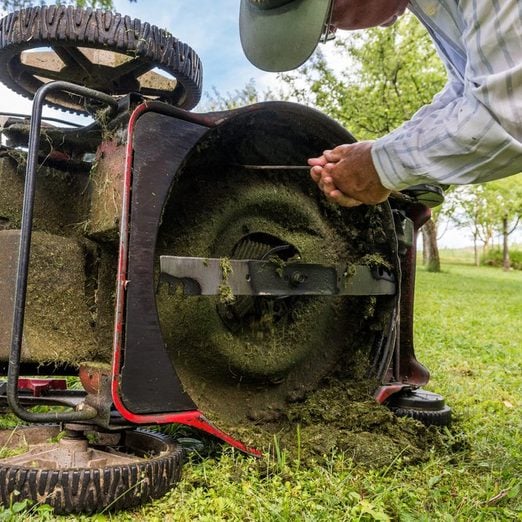
Stuff We Love
Need help making buying decisions? Family Handyman has you covered.